WordPress is one of the most popular and widely used CMS platforms on the market today. Its simplicity makes it perfect for building websites easily for beginners. In this tutorial, we will show you how how to install WordPress on your domain with Plesk.
IMPORTANT: Make sure you don't have any content on your website already, otherwise those may be lost.
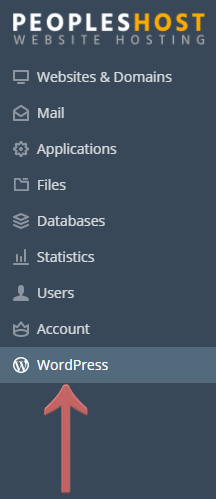
After logging into the Plesk control panel navigate to and click Applications in the side navigation bar.

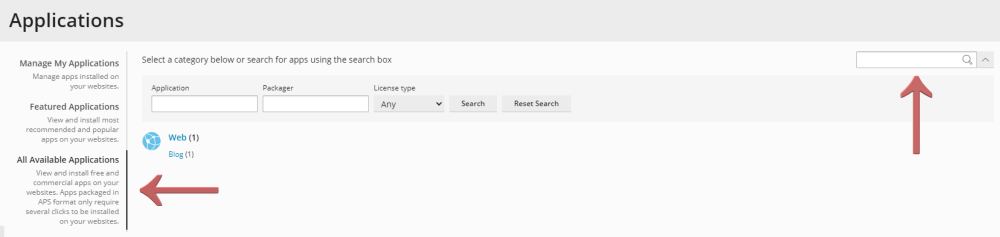
Find the application you need from the list of available applications in this case WordPress, and install it. Or you can search it from the search bar as shown in the picture below.
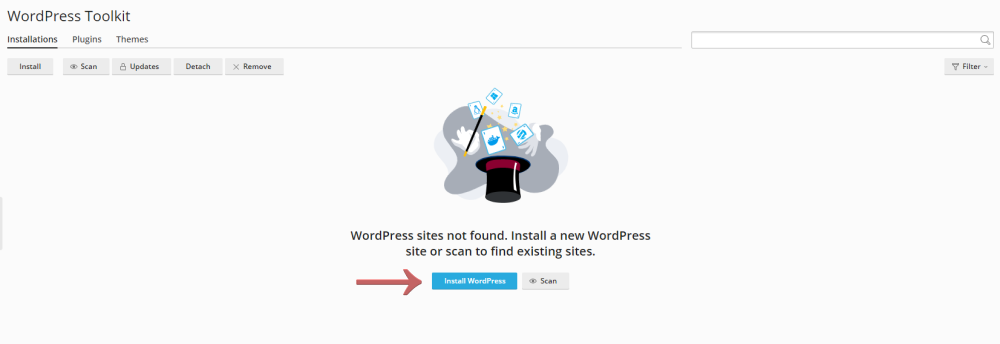
After it has been installed successfully a tab name WordPress will appear in the left side panel.
Click on the WordPress tab and wait for the new page to load. When it does press the 'Install WordPress' button.
When you click that the left side panel will expand and you will need to enter the details for your WordPress account. When you are done press the 'Install' button.

This process will take a while to complete so be patient and look at the progress bar.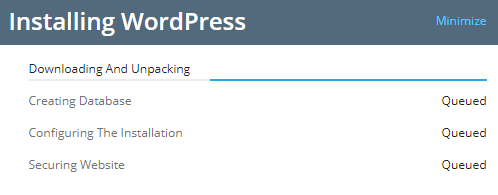
When WordPress is installed you will see it in the Websites and Domains page under the domain name.

When you see the WordPress icon under your Website, you have successfully installed WordPress using Plesk.
The next step would be to login to the Administrative Dashboard and start customizing your new WordPress installation. Typically, you can access the WordPress Dashboard with the following format -- http://www.yourdomain/wp-admin/
If you have any issues, don't hesitate to contact support for further assistance.
Looking for reliable Windows hosting with Award Winning Customer Support?
Grab your hosting today with a 20% discount. All plans come with our 60 Money Back Guarantee!
Check out our plans & promotions on our website -- https://www.peopleshost.com/
