To enable Let's Encrypt for your domain or subdomain you will need to log into the Plesk control panel.
If you forgot your Plesk control panel login you can find that information in the Welcome email we sent to you when you first signed up. You can also view that email in the Email History section of your billing dashboard.
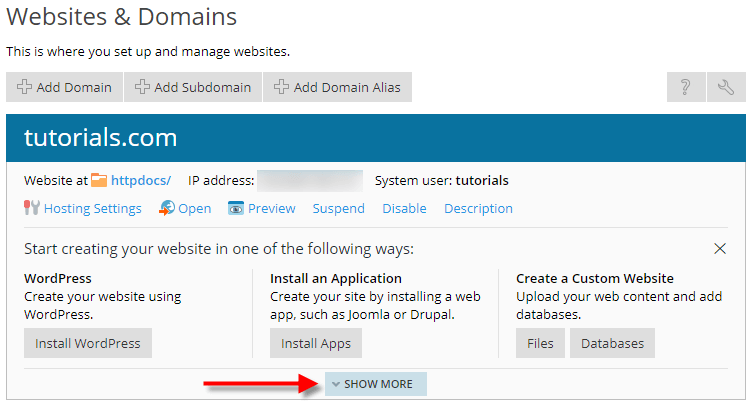
After logging into the Plesk control panel navigate to and click Websites & Domains in the side navigation bar. On the Websites & Domains page you'll see a list of the domains hosted through your hosting account.

Click the SHOW MORE button to expand and view the various icons that will give you access to certain functionality for your hosting account.
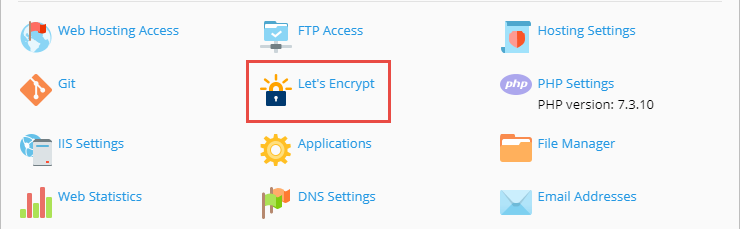
Locate and click the Let's Encrypt icon.
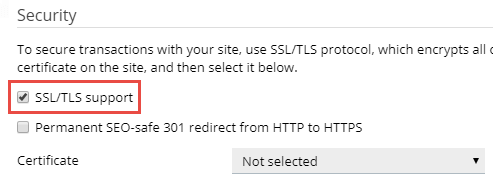
If you receive a warning that SSL/TLS support is disabled for yourdomain.com you'll need to enable SSL/TLS support for your domain in the Hosting Settings section.

Click Hosting Settings.

Check the box to enable SSL/TLS support under the Security heading. Scroll down and click the Apply button.
Navigate back to Websites & Domains and click the Let's Encrypt icon. Enter your email address and select what will be secured. We recommend selecting the option for Issue a wildcard SSL/TLS certificate so the primary domain, www, and any subdomain will be covered by Let's Encrypt.
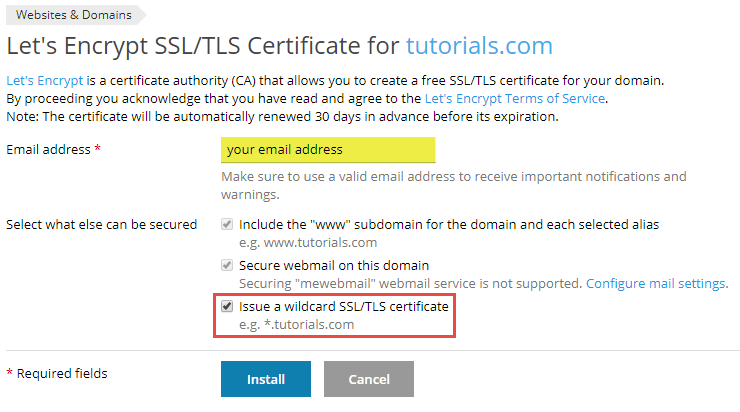
Click the Install button. The system will attempt to issue a Let's Encrypt certificate for your domain and any relevant subdomains.
Please note, Let's Encrypt cannot issue SSL Certificates to any domains or subdomains that are not resolving to the server. You will need to make sure to update your domain's or subdomain's nameservers or A record to point to PeoplesHost.
