Learn how to set advanced spam permissions for your mail.
If you want to learn how to enable or disable spam settings then view this article first.
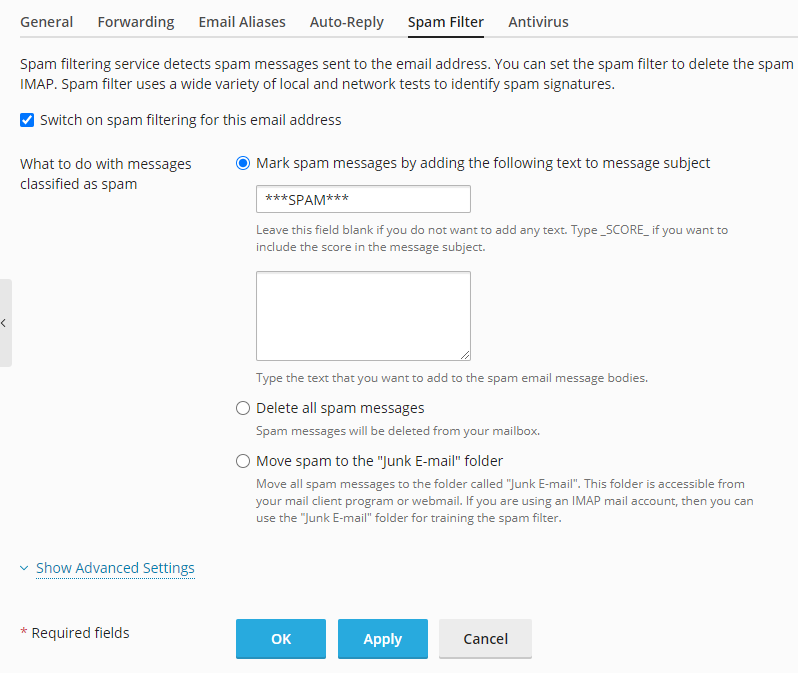
After logging into the Plesk control panel navigate to and click Mail in the side navigation bar. Select the email address that you want to change the settings. Click on the 'Spam Filter' tab.
You can specify what to do with the spam messages from the section below by just checking the radio button.
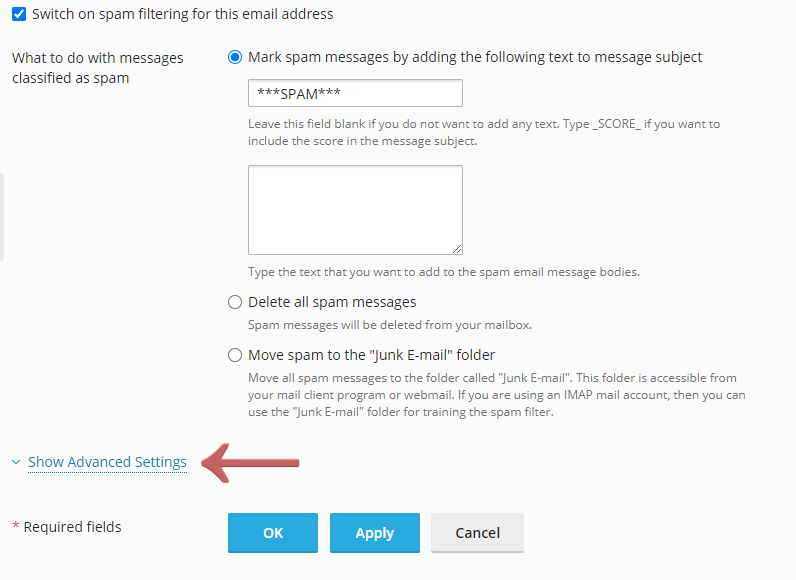
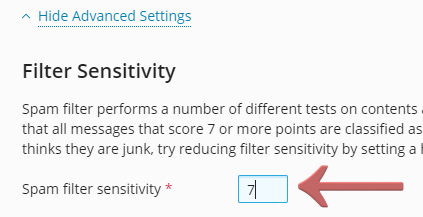
If the spam filter misses too many messages or gives many false positives, you need to adjust the filter sensitivity. You can do that by clicking on Show Advanced Settings and type the desired sensitivity in the Spam filter sensitivity field.
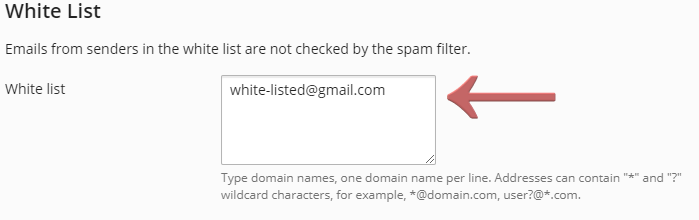
If you don't want to miss emails from specific senders, type their address or domain name in the White list field. It's located in the Advanced Settings section.
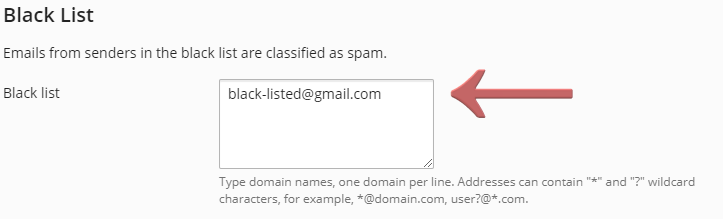
If you don't want to receive emails from specific senders, type their address or domain name in the Black list field. It's located in the Advanced Settings section.
You can also specify trusted languages and character sets. The ones on the left section are going to get passed and the ones on the right are going to get marked as spam. You can move them by selecting the item and pressing the '>>' or '<<' button. It's located in the Advanced Settings section.


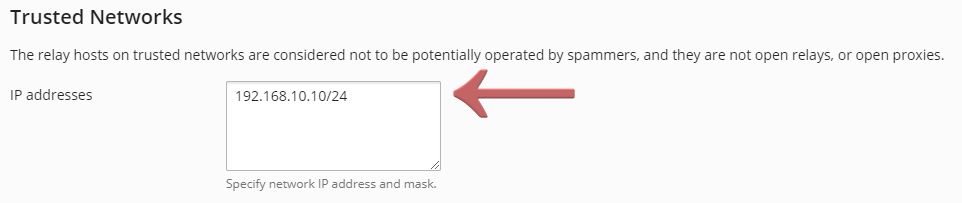
You can specify IP addresses of computers or networks from which email must always be accepted. Enter the IP addresses in the 'Ip addresses' field, and add a network mask after a slash. It's located in the Advanced Settings section.
After you are done press the 'Ok' button to save the changes.

Looking for reliable Windows hosting with Award Winning Customer Support?
Grab your hosting today with a 20% discount. All plans come with our 60 Money Back Guarantee!
Check out our plans & promotions on our website -- https://www.peopleshost.com/
