In this article, we will cover how to set up a DMARC record in WebsitePanel.
Related Articles:
DMARC, which stands for “Domain-based Message Authentication, Reporting & Conformance”, is an email authentication, policy, and reporting protocol to help domain owners, and email administrators have more control over email using their domain and to help prevent spoofing as well as phishing emails and other scams.
We can set up a DMARC record fairly easily using some 3rd party tools, and the WebsitePanel which comes with your hosting account here at PeoplesHost.
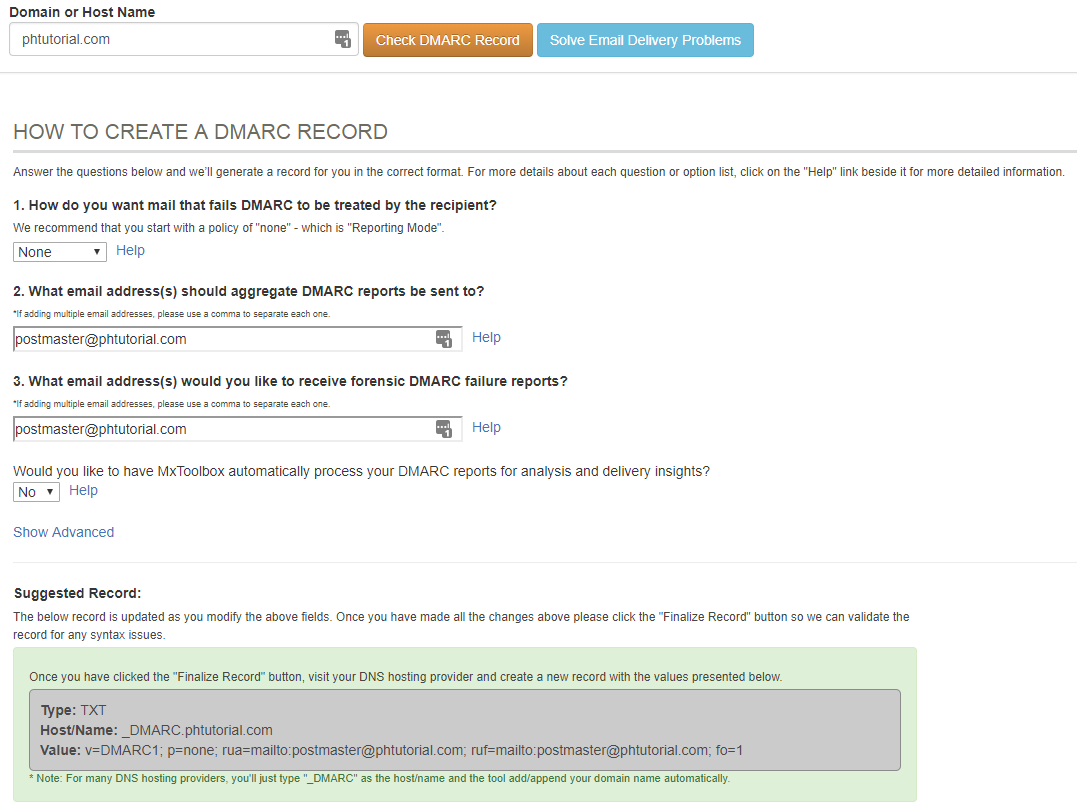
Step 1) Using a 3rd party tool by MXToolBox, you'll want to generate your DMARC record. The default options are fine, however, you'll want to enter your email address or postmaster email address for the reports.
An example configuration is shown below:
Step 2) Once you have your record created, you'll want to log into your control panel (WebsitePanel) and click on the Domains sub-heading as shown below: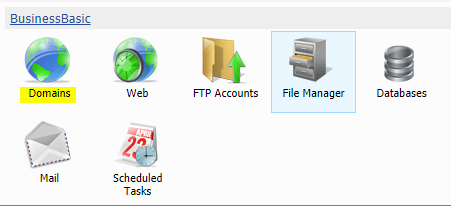
Step 3) Click on the Domain that you want to add the DMARC record for and then click Edit DNS Zone records.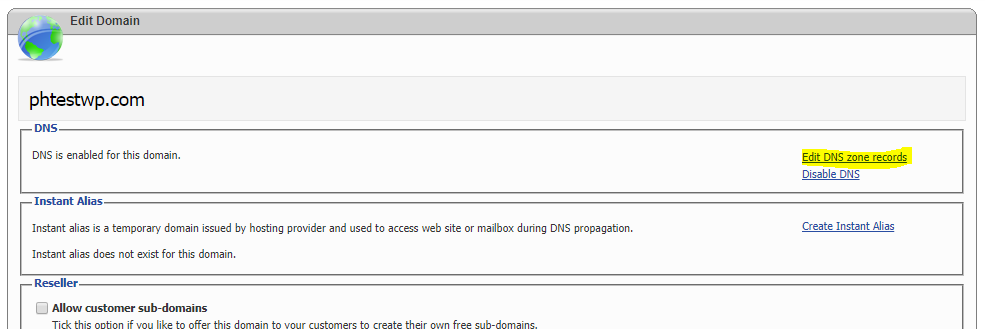
IMPORTANT NOTE: On this page, you will see all the DNS records that make your domain work. Be very careful when editing these records.
Step 4) Click Add Record at the top of the page and add the DNS record from Step 1 as shown below: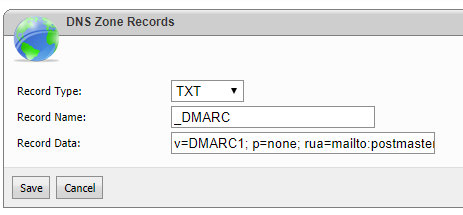
Save the record and that's it.
Please wait 10 minutes for the DNS on the server to reload, but once that time has passed, you can use the following tool to verify that you've added the DMARC record correctly.
If everything was done correctly, using the above tool, you should see a message that says "Congratulations! Your DMARC record is valid.". If you do not, please contact support for further assistance.
Looking for reliable Windows hosting with Award Winning Customer Support?
Grab your hosting today with a 20% discount. All plans come with our 60 Money Back Guarantee!
Check out our plans & promotions on our website -- https://www.peopleshost.com/
